What is vaultwarden? Link to heading
From the source repo1, vaultwarden is an alternative implementation of the Bitwarden server API written in Rust and compatible with upstream Bitwarden clients, perfect for self-hosted deployment where running the official resource-heavy service might not be ideal.
Why vaultwarden? Link to heading
Here are some of the key reasons why I am choosing to use vaultwarden:
- Open Source: Vaultwarden is fully open-source, which means its code is freely available for review and modification by anyone. This transparency helps ensure security and trustworthiness.
- Security: Vaultwarden employs strong encryption standards (AES-256 bit encryption) to protect your data. It also supports Two-Factor Authentication (2FA), adding an extra layer of security.
- Self-Hosted: Unlike the official Bitwarden service, Vaultwarden allows you to host your password manager data on your own server or cloud instance. This gives you full control over your data and privacy.
- Compatibility: It is compatible with Bitwarden clients, which are available on various platforms (Windows, macOS, Linux, Android, iOS, web browsers). This ensures flexibility in accessing your passwords and other stored data.
- Community Support: Being open-source, Vaultwarden benefits from a community of developers and users who contribute to its development and provide support through forums and documentation.
Overall, Vaultwarden is a solid choice for those looking to manage their passwords securely while retaining control over their data and server infrastructure.
Installation and Setup Link to heading
There are multiple options when it comes to installing and using vaultwarden but I prefer to have it installed within a docker container. As you may already know from my previous posts, I prefer using a docker-compose.yaml file for my containers. This is what the file looks like for my installation:
services:
  vaultwarden:
    container_name: vaultwarden
    image: vaultwarden/server:latest
    volumes:
      - ./vw-data:/data
    restart: unless-stopped
    environment:
      DOMAIN: https://vw.jukelyn.com
      SIGNUPS_ALLOWED: "false"  # Initially set this to true then false after first run
    labels:
      - traefik.enable=true
      - traefik.http.middlewares.vaultwarden-ipallowlist.ipallowlist.sourcerange=127.0.0.1/32, 192.168.1.0/24
      - traefik.http.routers.vaultwarden.entrypoints=web,websecure
      - traefik.http.routers.vaultwarden.rule=Host(`vw.jukelyn.com`) || Host(`vault.jukelyn.com`) || Host(`vaultwarden.jukelyn.com`)
      - traefik.http.routers.vaultwarden.tls=true
      - traefik.http.services.vaultwarden.loadbalancer.server.port=80
    security_opt:
      - no-new-privileges:true
    networks:
      - main_kuma_net

networks:
  main_kuma_net:
    external: true
This is what my docker file looks like but depending on the reverse proxy you are choosing to use, you will need to edit the file to your use case. To break down the file we can first look at the first section which includes:
services:
  vaultwarden:
    container_name: vaultwarden
    image: vaultwarden/server
    volumes:
      - ./vw-data:/data
    restart: unless-stopped
    environment:
      DOMAIN: https://vw.jukelyn.com
      SIGNUPS_ALLOWED: "false"  # Initially set this to true then false after first run
    ...
We have some basic stuff here, most important being environment section. The rest of the stuff here should all be pretty self-explanatory. The environment section includes two main things that I am using, the DOMAIN containing the URL I use to access vaultwarden and the SIGNUPS_ALLOWED field. The SIGNUPS_ALLOWED field should be set to true initially so that you can create your account, if you don’t already have one. After creating your account, you should change this to false, even though my application isn’t public-facing and is only accessible from inside my home network (and/or VPN to my home network).
    ...
    labels:
      - traefik.enable=true
      - traefik.http.middlewares.vaultwarden-ipallowlist.ipallowlist.sourcerange=127.0.0.1/32, 192.168.1.0/24
      - traefik.http.routers.vaultwarden.entrypoints=web,websecure
      - traefik.http.routers.vaultwarden.rule=Host(`vw.jukelyn.com`) || Host(`vault.jukelyn.com`) || Host(`vaultwarden.jukelyn.com`)
      - traefik.http.routers.vaultwarden.tls=true
      - traefik.http.services.vaultwarden.loadbalancer.server.port=80
    security_opt:
      - no-new-privileges:true
    networks:
      - main_kuma_net

networks:
  main_kuma_net:
    external: true
The above contain a lot of labels that traefik uses to setup the vw, vault, and, vaultwarden subdomains and enables TLS on the site as well (required by vaultwarden). You may notice that the network is main_kuma_net, this is because traefik’s network is called main_kuma_net, it’s named this because it lives on the network that I run uptime kuma on (to monitor this container). You will also notice that any http requests are being redirected to https. Finally, the security_opt option allows you to configure various security options for containers. The specific option no-new-privileges:true2, is used to ensure that processes inside the container cannot gain new privileges (capabilities) once they are started. When set to true, this option ensures that the container’s processes cannot escalate their privileges, which is a good security practice to prevent unauthorized actions or malicious activities within the container environment.
First Run Link to heading
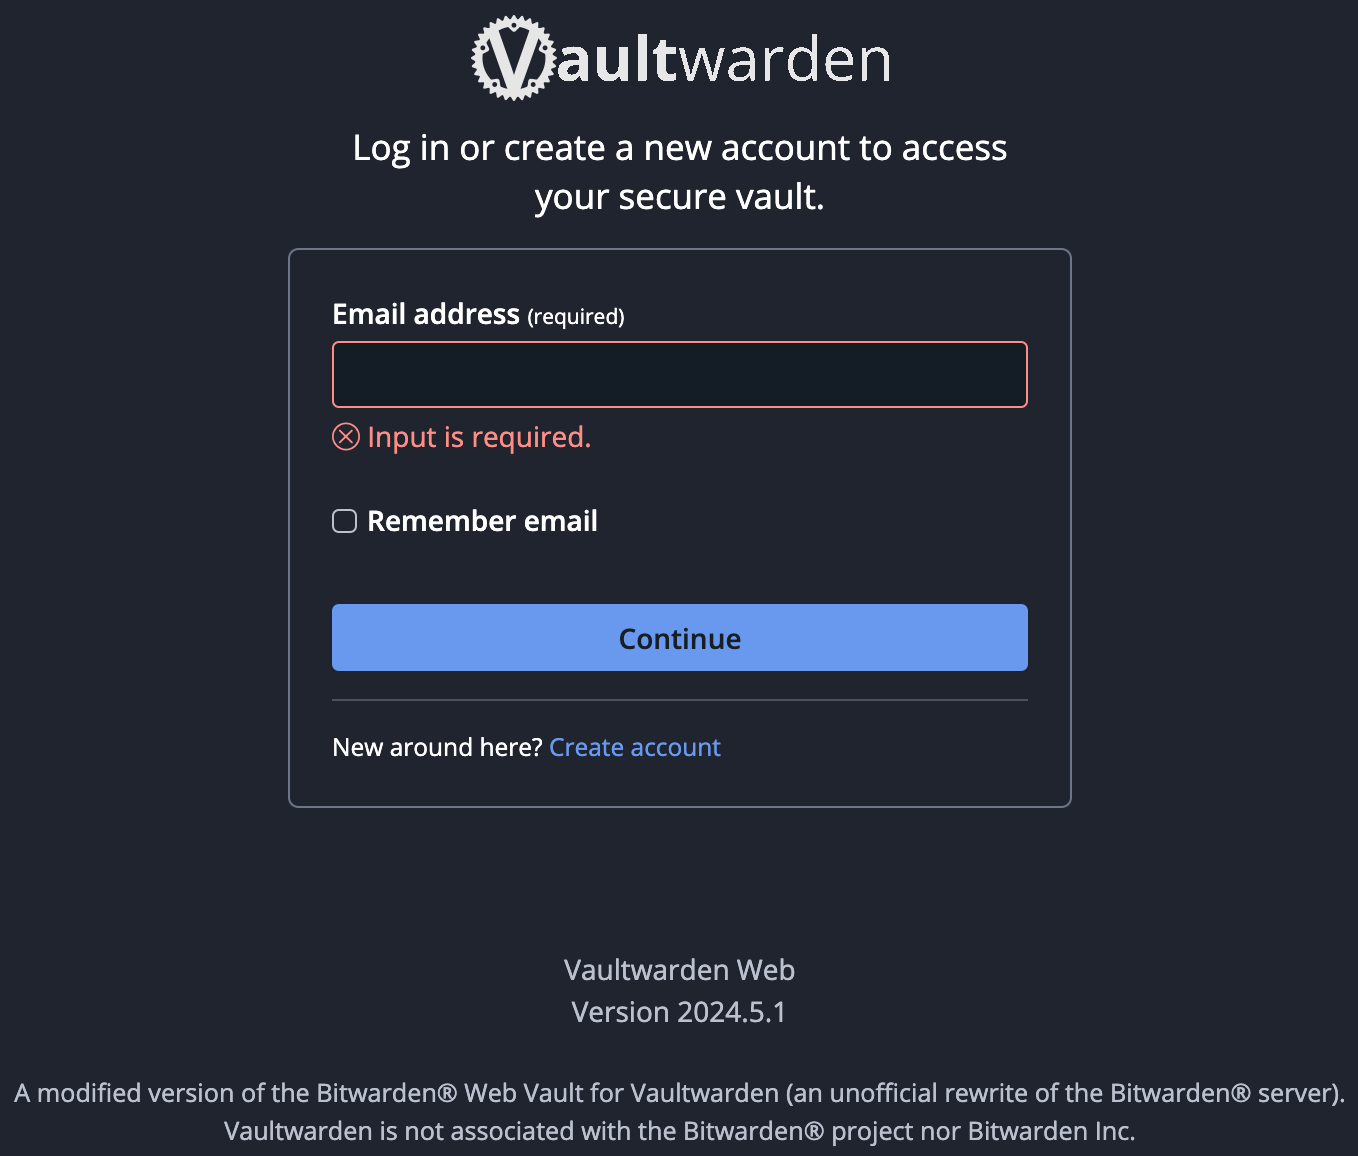
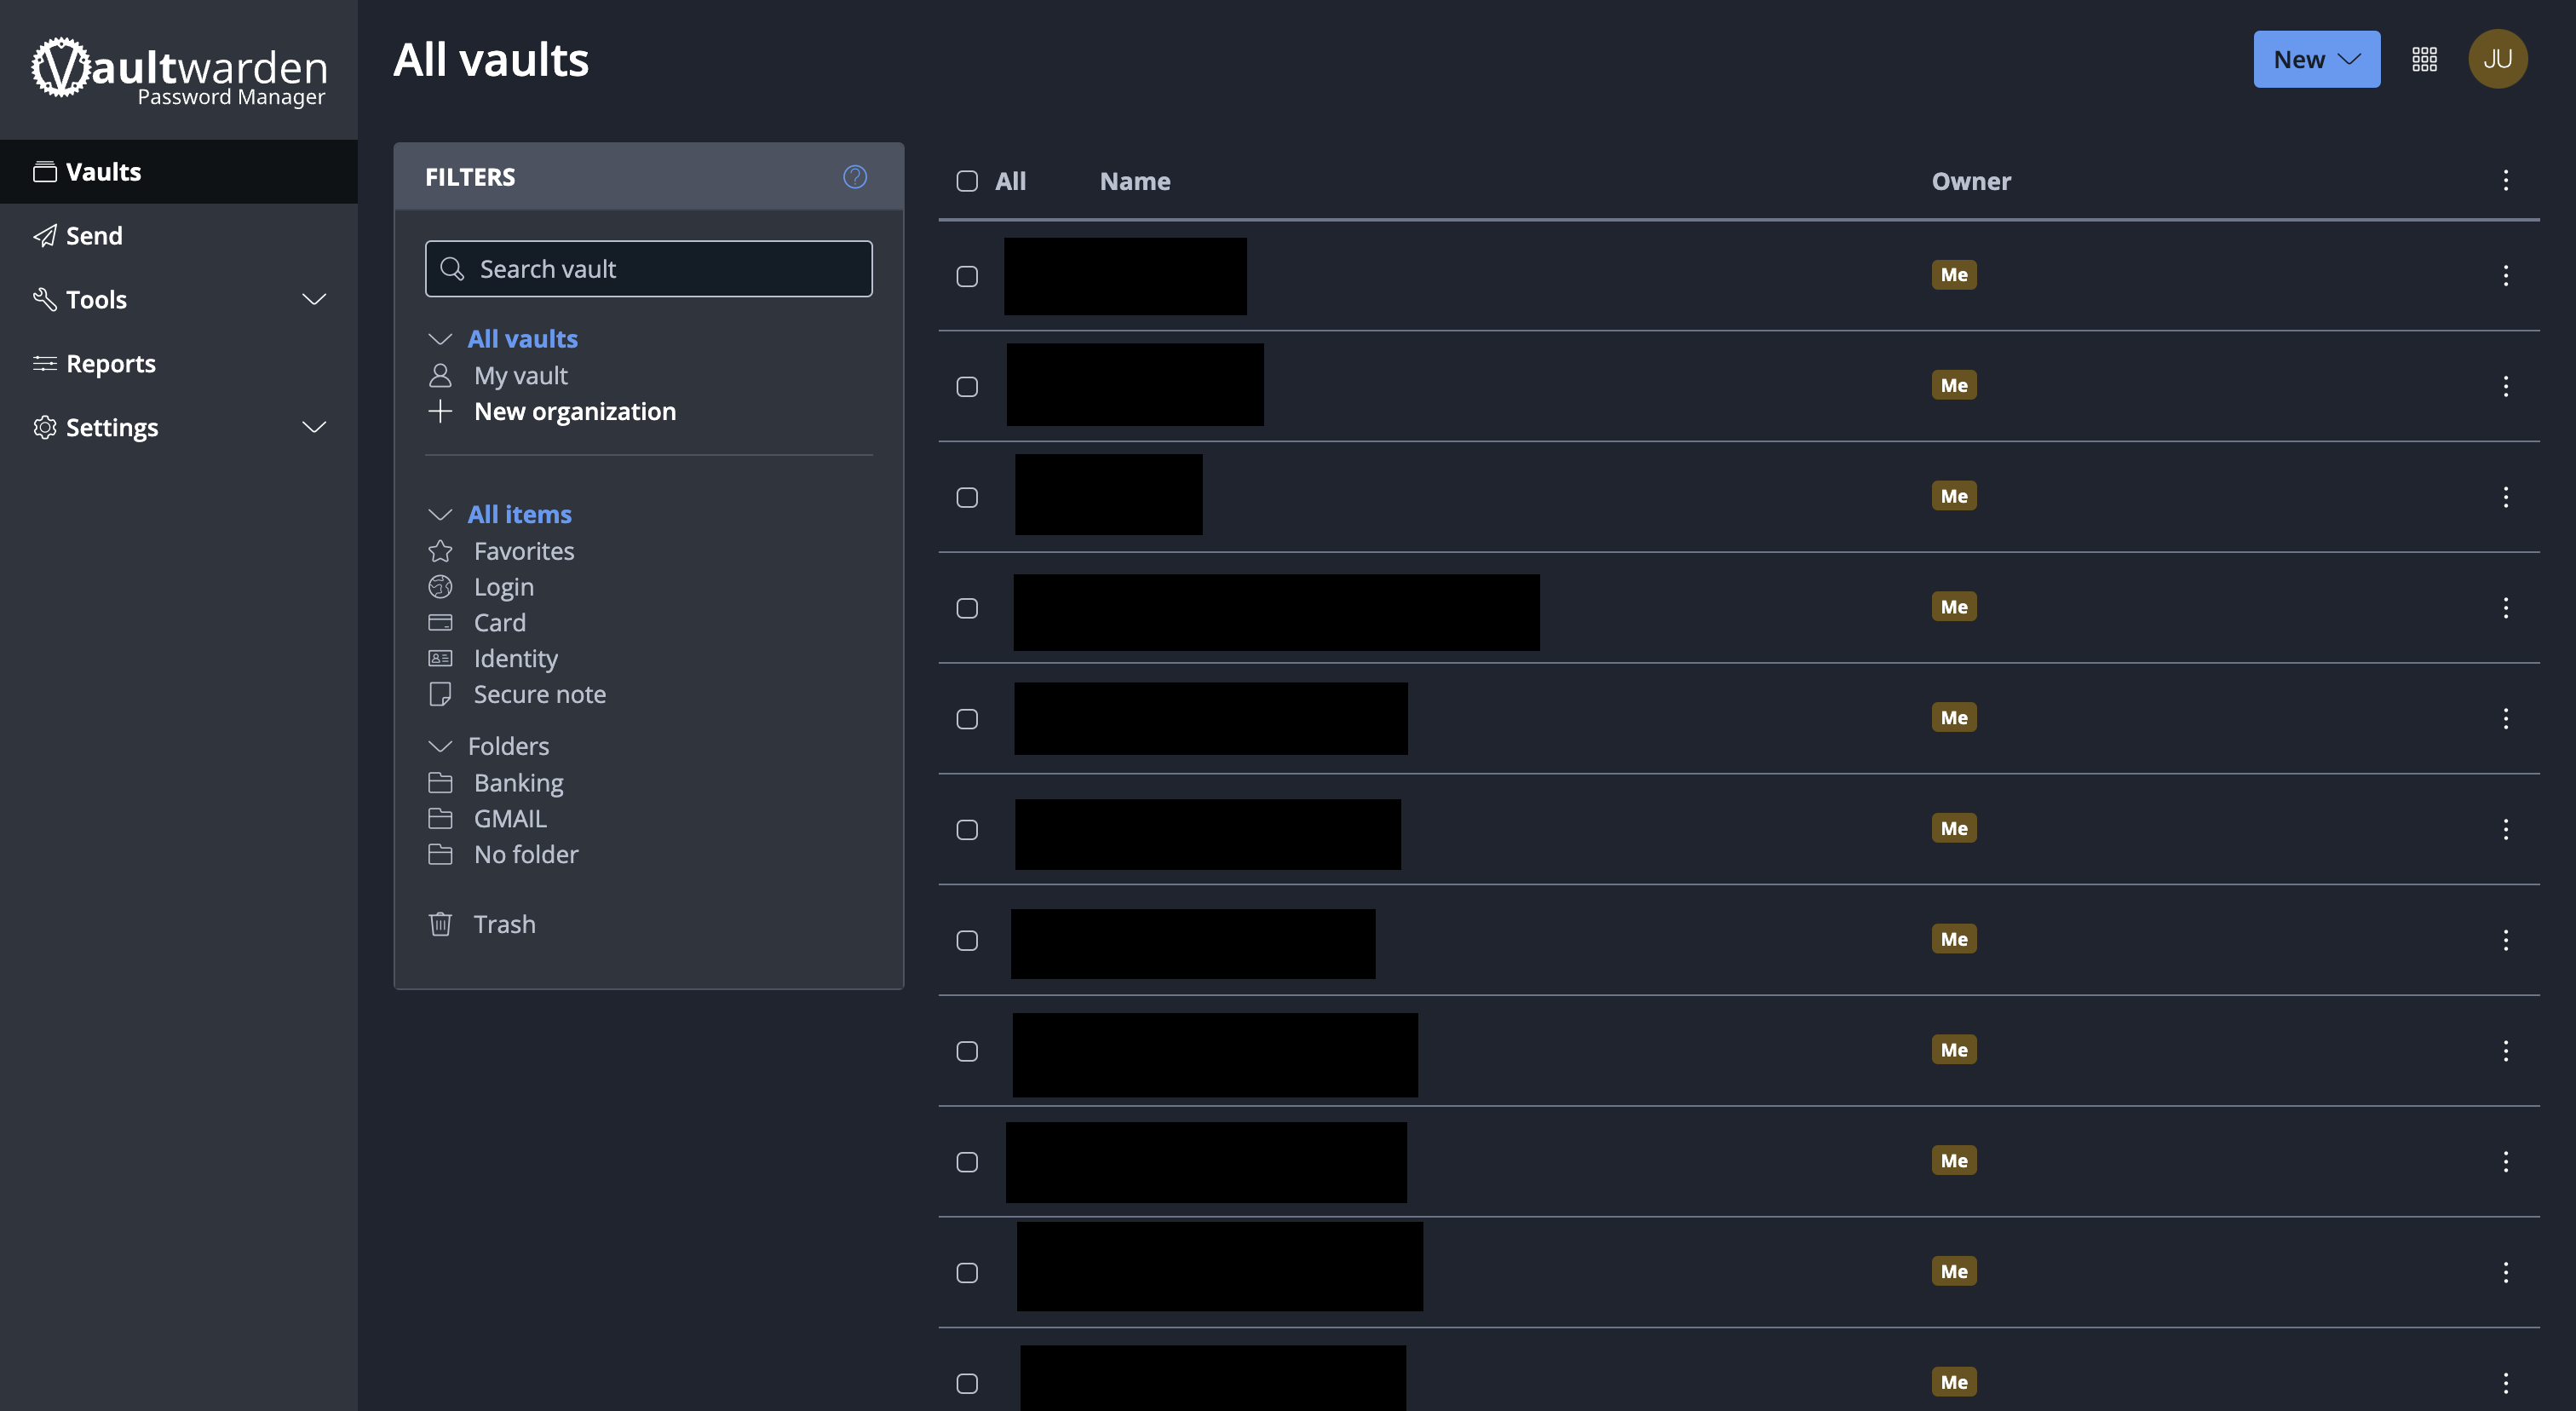
When you first run, you will be able to go to the specified subdomain that you have set, if you set one at all, and you will be dropped to a login page. This page will need to have a valid SSL certificate in order for you to create your account, if you do not have a valid SSL certificate, you will need to fix this before using vaultwarden. I will not cover anything related to SSL/TLS here but I have shown in my traefik post that I have it configured to use my SSL certs from Porkbun (from Let’s Encrypt). After making an account, you are now dropped into the Web UI for vaultwarden. Below are some images of these pages.


Next steps Link to heading
After creating an account and logging in you should get the corresponding apps and extension(s) for bitwarden on your devices. I installed the bitwarden extension on Brave (via the Chrome Web Store). In order for you to log into this, make sure that you select the option “self-hosted” in the extensions options right under the email field when logging in. It will ask you for the subdomain for the server, which I entered vw.jukelyn.com (“vault” or “vaultwarden” are also valid subdomains I could have entered). I am then able to log in using the credentials I created in the section above.
At this point, you are done and any changes you choose to make beyond this point are subject to your discretion. Personally, I downloaded all of my stored passwords into a csv file and imported them into vaultwarden and chose to also use bitwarden to store my passwords from this point on, instead of my browser. I also added the ability to use a PIN and biometrics (fingerprint and face id) to unlock3 bitwarden.
Updates Link to heading
Any updates being made will be below. Here is a table with jumps to various dates with a short description of changes made:
Date: Short description
August 4, 2024: Updated
docker-compose.yamlfile.
-
Unlocking your vault causes the PIN or biometric key to decrypt the account encryption key in memory. The decrypted account encryption key is then used to decrypt all vault data in memory. Locking your vault causes all decrypted vault data, including the decrypted account encryption key, to be deleted. If you use the Lock with master password on restart option, this key is only stored in memory rather than on disk ↩︎